


Attention! The procedure applies to all models.
1. Raise the front of the car and place it on stands. Set the parking brake. Remove the wheel.
2. Place a jack with a wooden block under the lower control arm, in the area between the spring support cup and the control arm ball joint. Raise the jack slightly to compensate for the spring force acting on the upper control arm.
Attention! Do not remove the jack until the work is completely completed.
3. Remove the air filter pipe if necessary.
4. Disconnect the brake hose bracket from the upper control arm.
5. Disconnect the upper ball joint from the steering knuckle.
6. If the vehicle has been modified using a special tool, mark the position of the adjusting cams on the frame so that they can be installed in their original position without disturbing the adjustment. Unscrew the bolts and nuts of the upper arm axle (see photo). Remove the upper control arm.
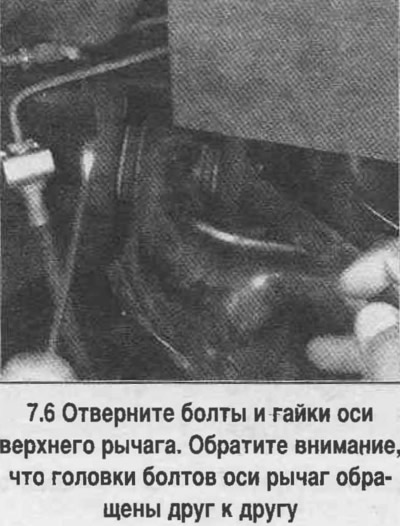
7. Check the condition of the axle bolt bushings. Replace them if necessary.
Note! On some models, the bushings are welded in place and cannot be removed. If the bushings are worn, the lever must be replaced. On some vehicles, the bushings are removed and installed on a hydraulic press at a car service center.
8. Install the lever into the frame bracket, tighten the bolts and nuts. The bolt heads should face each other. Do not tighten the nuts completely. Align the marks on the cams made when removing the lever.
9. Attach the control arm ball joint to the steering knuckle (see Section 4).
10. Attach the brake hose bracket to the upper arm.
11. Install the wheel and tighten the nuts, remove the car from the stands. Tighten the nuts to the specified torque.
12. Tighten the lever axle nuts and bolts to the specified torque.
13. Reinstall the air filter pipe.
The original article can be found on the resource: «CHEVYMAN.RU»