


The main faults that require removing the manual transmission from the vehicle to fix are:
- elevated (compared to usual) noise;
- difficult gear shifting;
- spontaneous disengagement or unclear engagement of gears;
- oil leakage through seals and gaskets.
In addition, the gearbox is removed to replace the clutch, flywheel and rear crankshaft oil seal of the engine.
USEFUL TIPS: The work of removing and installing the gearbox is very labor-intensive, so first make sure that its malfunctions are not caused by other reasons (insufficient oil level, defects in the clutch release drive, loose gearbox mounts, etc.).
The gearbox is quite heavy and its shape is not convenient for holding, so we recommend removing the gearbox with an assistant.
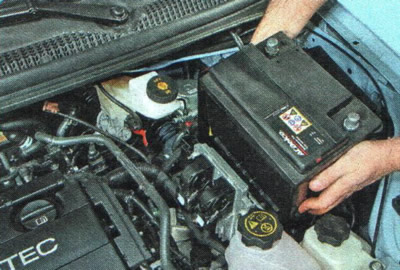
1. Remove the battery (see "Removal and installation the battery").
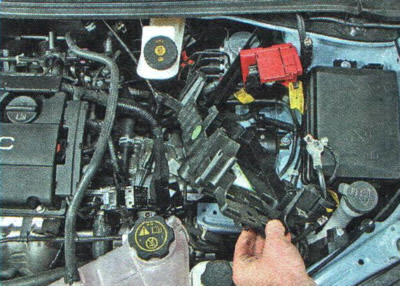
2. Remove the battery mounting shelf (see "Removal and installation the battery mounting shelf").
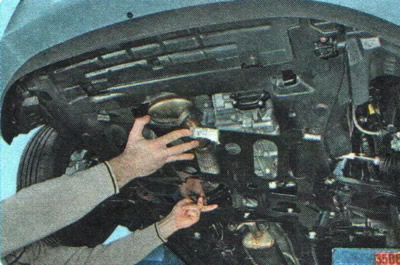
3. Remove the mudguards and engine crankcase protection (see "Removal and installation mudguards and engine crankcase protection").
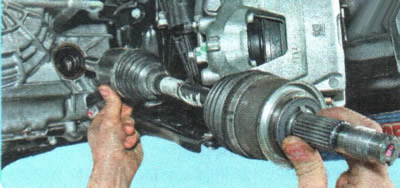
4. Remove the front wheel drives (see "Removal and installation front wheel drives").
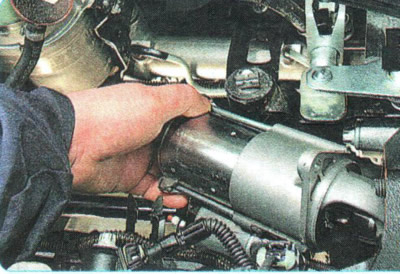
5. Remove the starter (see "Removal and installation the starter").
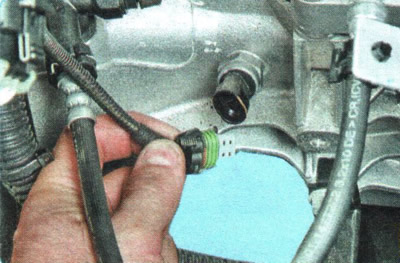
6. Disconnect the wiring harness connector from the reverse gear sensor.
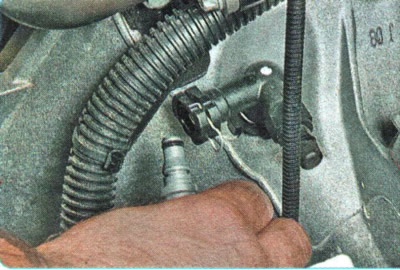
7. Remove the retainer and disconnect the hose tip from the clutch release hydraulic drive intermediate pipe adapter.
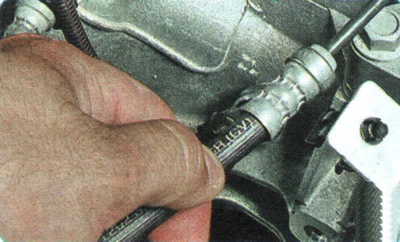
8. Remove the clutch release hydraulic drive line from the holder on the body bracket and move it to the side.
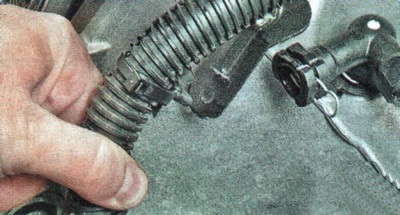
9. Disconnect the wire harness holders from the transmission brackets and move the harness to the side.
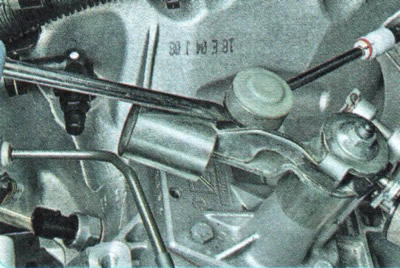
10. Use a screwdriver to pry up the tip of the gear shift cable...
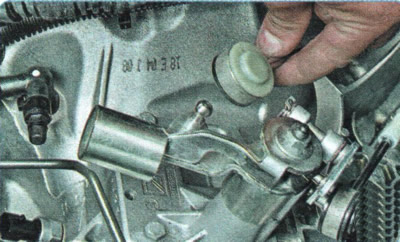
11. ...and disconnect the cable end from the gearbox lever, overcoming the elastic resistance of its spring retainer.
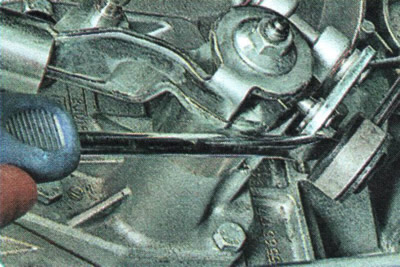
12. Use a screwdriver to pry up the tip of the gear selection cable...
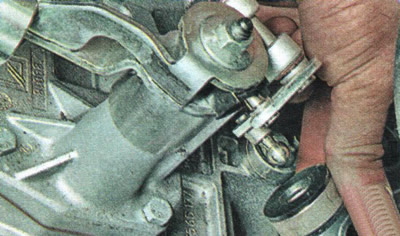
13. ...and disconnect it from the gearbox lever, overcoming the elastic resistance of the spring retainer.
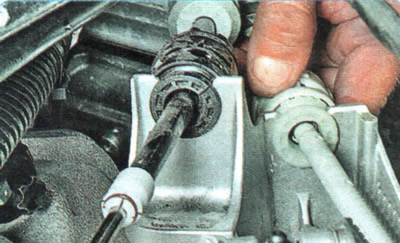
14. Move the gear selector cable housing stop lock back...
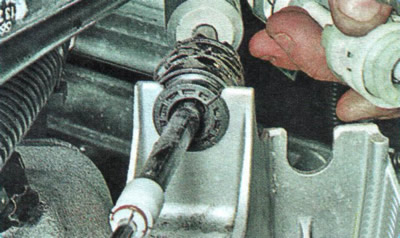
15. ...and remove the stop from the bracket on the gearbox.
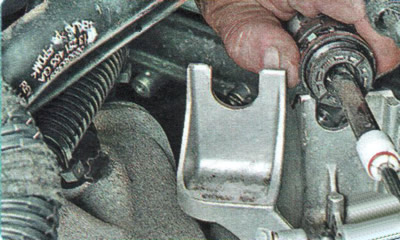
16. Similarly, disconnect the gear selection cable stop from the bracket.
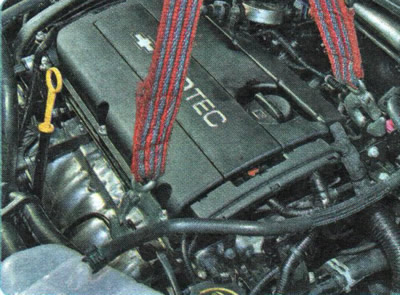
17. Attach the lifting gear slings to the rear transport eyes of the power unit and tighten the slings.
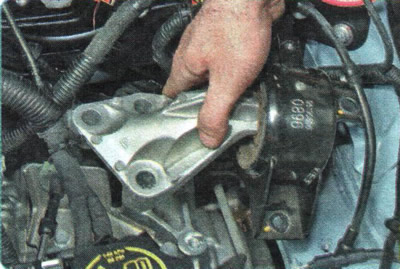
18. Remove the left powertrain suspension support (see "Replacing the left support of the powertrain suspension").
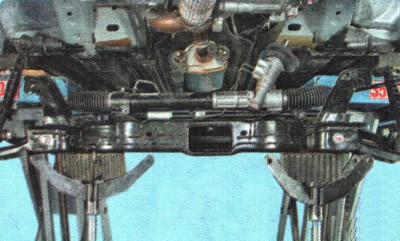
19. Remove the front suspension crossmember (see "Removal and installation the front suspension crossmember").
20. Remove the exhaust pipe (see "Replacing the intake pipe").
21. Install supports under the gearbox and engine housings.

22. Remove the two upper bolts securing the gearbox to the engine cylinder block on the right...
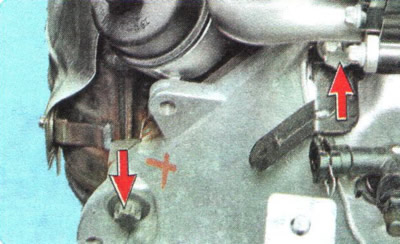
23. ...and on the left.
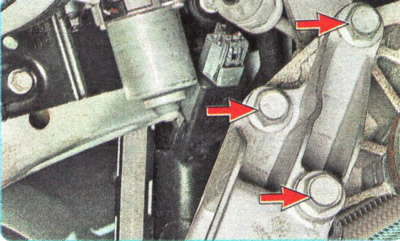
24. Unscrew the three bolts securing the front powertrain suspension bracket to the gearbox and remove the bracket.
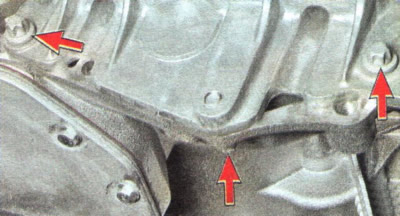
25. Remove the three bolts securing the clutch housing to the engine oil pan.
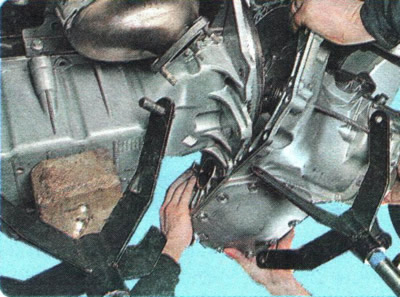
26. Move the gearbox as far back as possible (the primary shaft must disengage from the clutch driven disk hub), remove the support from underneath it and remove the gearbox from the car.
CAUTION: When removing the transmission, do not rest the end of the input shaft against the diaphragm spring petals to avoid deforming them.
27. Install the gearbox and all removed parts and assemblies in the reverse order of removal.
USEFUL TIPS: Before installing the gearbox, we recommend lubricating the splines of the primary shaft with a thin layer of high-melting grease. Check with a special mandrel how the driven clutch disc is centered (see "Removal and installation the clutch"). Before connecting the front wheel drives to the gearbox, replace the retaining rings on the splined tails of the inner joints with new ones. Otherwise, there is a risk of disconnecting the drives from the gearbox while driving.
28. Fill the gearbox with oil (see "Checking the level, topping up and replacing oil in a manual transmission").
29. If necessary, adjust the gearbox control drive (see "Adjusting the manual transmission control drive").
30. Pour the working fluid into the reservoir of the master brake cylinder (in its section intended for supplying the hydraulic clutch release drive) and remove air from the clutch release hydraulic drive (see "Bleeding the clutch release hydraulic drive").
The original article can be found on the resource «chevyman.ru»