
The main faults that require removing the gearbox from the vehicle to fix are:
- elevated (compared to usual) noise;
- difficult gear shifting;
- spontaneous disengagement or unclear engagement of gears;
- leakage of working fluid through seals and gaskets.
In addition, the gearbox is removed to replace the rear crankshaft oil seal of the engine.
USEFUL TIPS: The work of removing and installing the gearbox is very labor-intensive, so first make sure that its malfunctions are not caused by other reasons (insufficient fluid level, defective control drive, loose gearbox mounts, etc.).
The gearbox is quite heavy and has an awkward shape to hold, so we recommend removing it with an assistant.
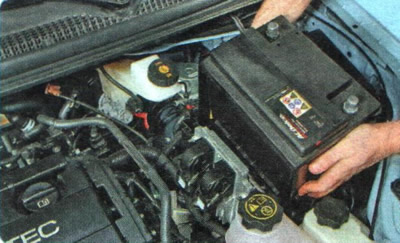
1. Remove the battery (see "Removal and installation the battery").
2. Remove the battery mounting shelf (see "Removal and installation the battery mounting shelf").
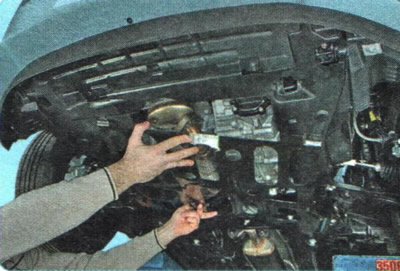
3. Remove the mudguards and engine crankcase protection (see "Removal and installation mudguards and engine crankcase protection").
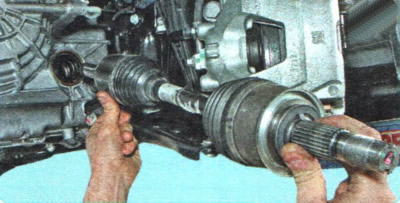
4. Remove the front wheel drives (see "Removal and installation front wheel drives").
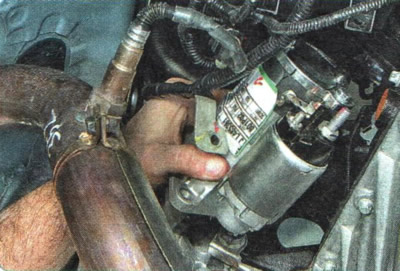
5. Remove the starter (see "Removal and installation the starter").
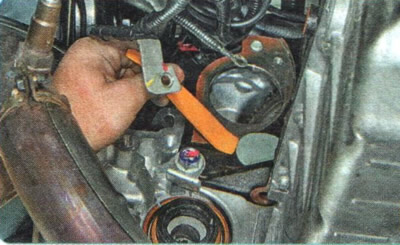
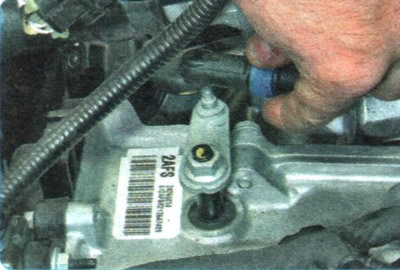
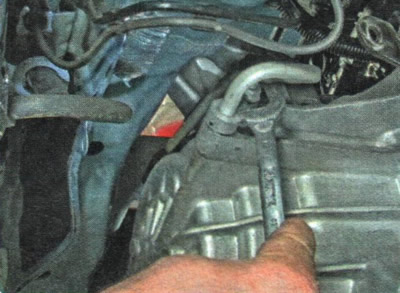
6. Pry up the edge of the plug of the hole for access to the torque converter mounting bolts in the cylinder block flange...
7. ...and remove the plug.

8. Through the hole that opens after removing the plug, unscrew, while turning the crankshaft, the three bolts securing the torque converter to the drive disk.
CAUTION: When reassembling, be sure to apply anaerobic thread locking compound to the threaded portion of the torque converter mounting bolts.

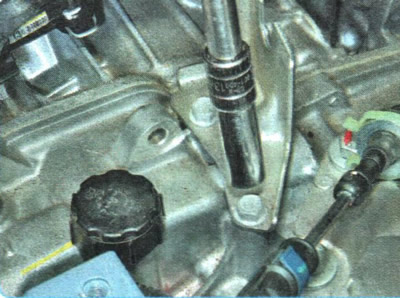
9. Loosen the clamp securing the end of the transmission control cable by squeezing its bent tabs...

10. ...and remove the cable end from the slot in the bracket on the gearbox.
11. Disconnect the tip from the ball joint of the multifunction switch lever, overcoming the resistance of its lock, and move the cable to the side.
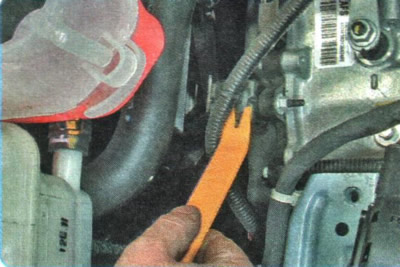
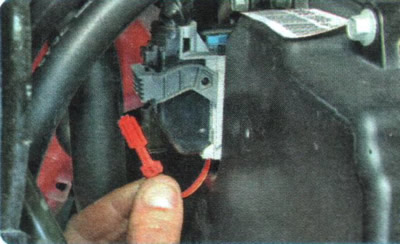
12. Pry up the wire harness holder...
13. ...and remove it from the hole in the side cover of the gearbox.
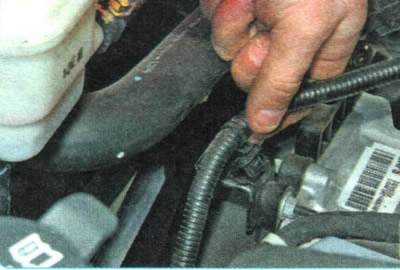
14. Similarly, disconnect the second wiring harness holder from the gearbox.
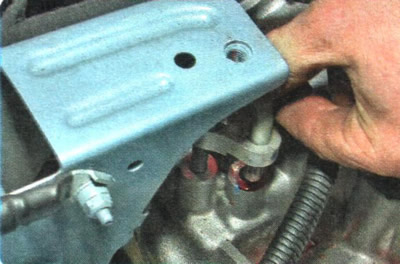
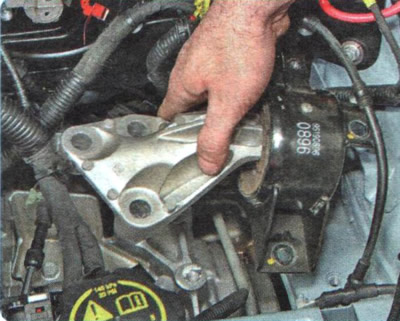
15. Remove the two bolts securing the gearbox control cable bracket...
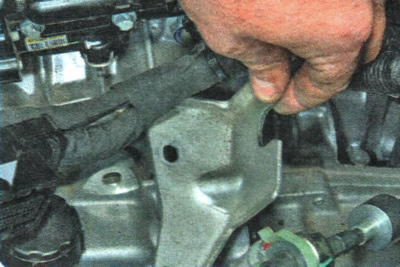
16. ...and remove the bracket.
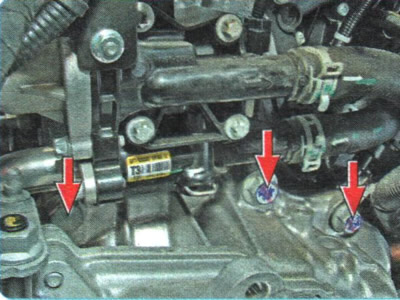
17. Remove the three upper bolts securing the gearbox to the engine.
NOTE: The upper right bolt also secures the wire harness bracket. Once the bolt is removed, move the harness to the side.
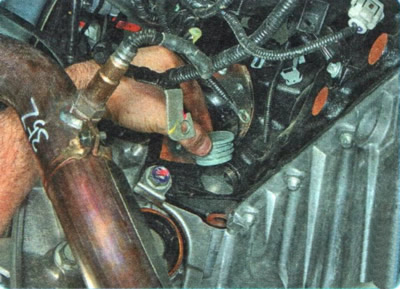
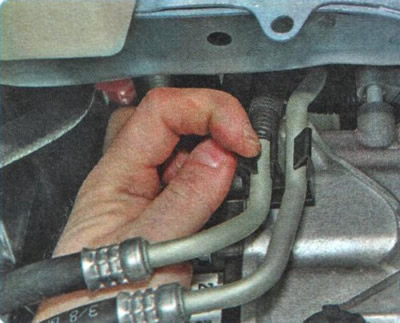
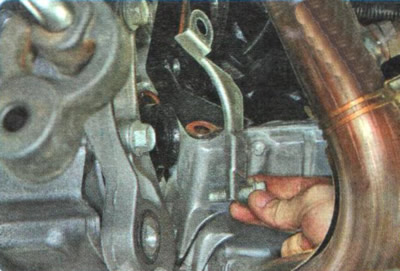
18. Unscrew the nut securing the pipeline for draining the working fluid from the heat exchanger...
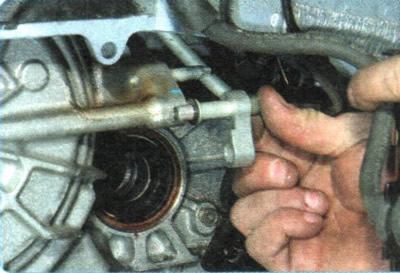
19. ...and disconnect the pipeline from the gearbox.
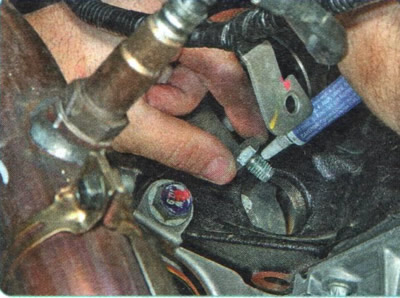
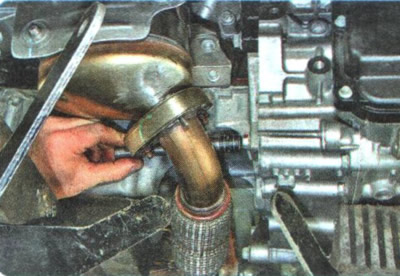
20. Disconnect the pressure line from the gearbox in the same way.

NOTE: The pipe ends are sealed with rubber rings. Replace these rings each time the connections are disassembled.
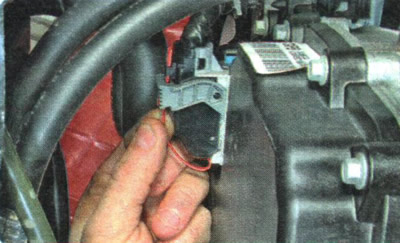
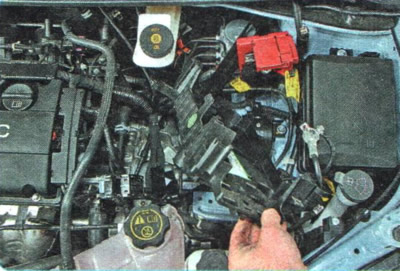
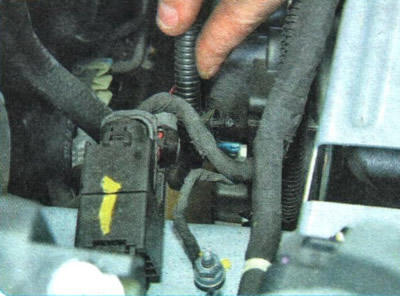
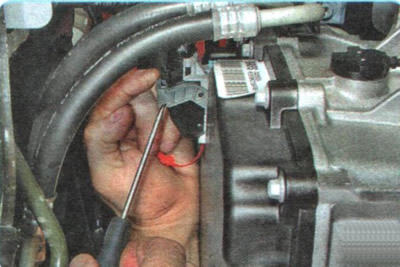
21. Pull down the locking bracket of the transmission control unit wiring harness connector...
22. ...remove the lock from the locking bracket...
23. ...press the bracket lock...
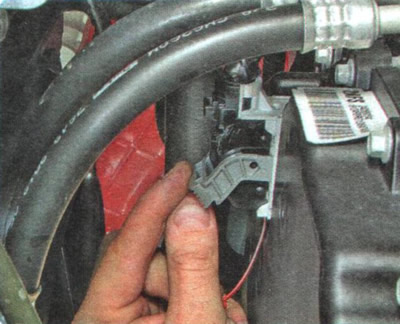
24. ...throw it back...
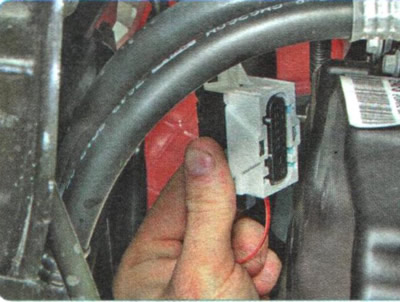
25. ...disconnect the connector and move the wiring harness to the side.
26. Release the holder of the pressure pipe of the working fluid cooling system...
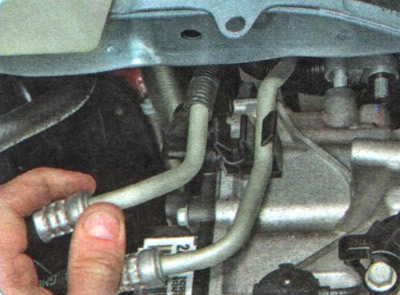
27. ...and remove the pipeline from the holder.
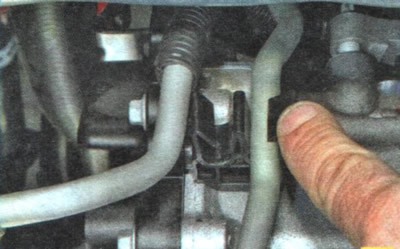
28. Disconnect the drain pipe from the gearbox in the same way. Move the pipes to the side.
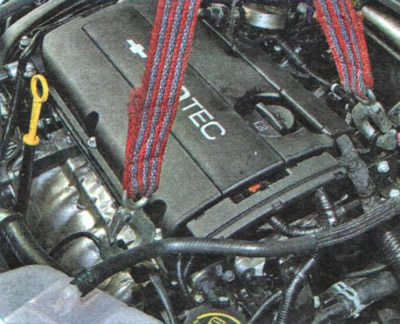
29. Attach the lifting gear slings to the rear transport eyes of the power unit and tighten the slings.
30. Remove the left powertrain suspension support (see "Replacing the left support of the powertrain suspension").
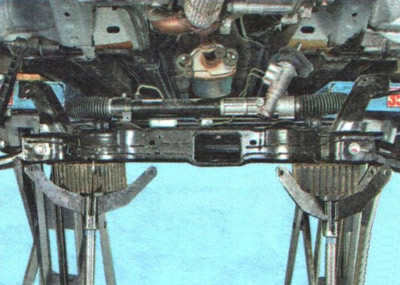
31. Remove the front suspension cross member (see "Removal and installation the front suspension crossmember").
32. Install reliable supports under the engine and gearbox housings.
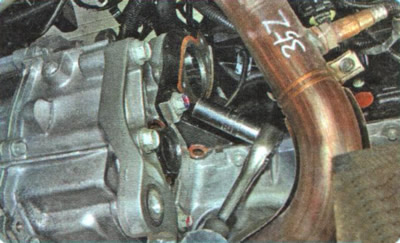
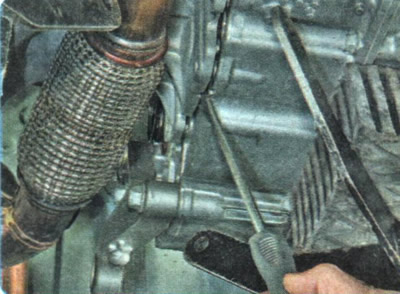
33. Turn the top...
34. ...and the lower right gearbox-to-engine mounting bolts...
35. ...and remove the bolts together with the heat shield of the inner joint housing oil seal of the right front wheel drive installed underneath them.
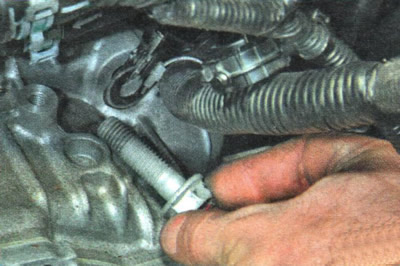
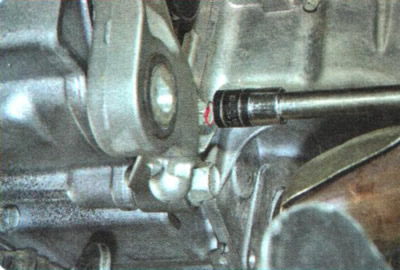
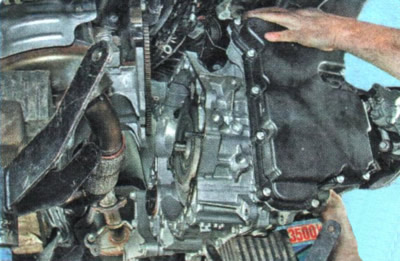
36. Remove the lower left bolt securing the gearbox to the engine oil pan.
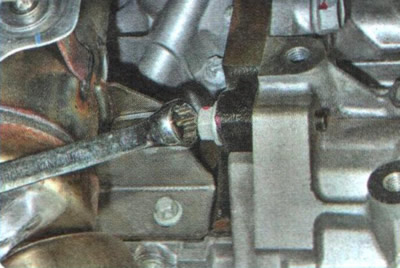
37. Unscrew the left upper nut securing the gearbox to the engine cylinder block.
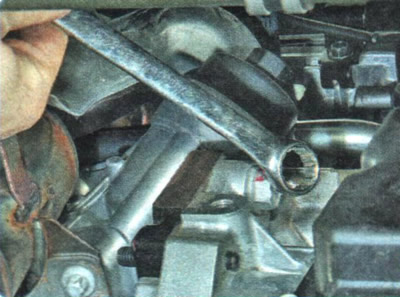
38. Remove the left bolt securing the gearbox to the engine cylinder block.
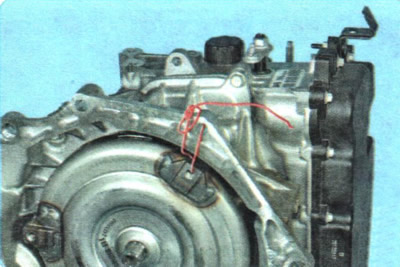
39. Using a large screwdriver inserted into the special slot in the lower part of the torque converter housing, disconnect the gearbox from the engine...

40. ...move the gearbox back...
WARNING: When starting to disconnect the gearbox from the engine, make sure that the torque converter is disconnected from the drive plate at the same time as the gearbox is moved. The torque converter is not fixed in any way in the axial direction on the drive shaft of the planetary gearbox and if it remains on the drive plate when removing the gearbox, some of the working fluid will be lost, poured out of the torque converter cavity.
41. ...and, having lowered the support under the gearbox, remove the gearbox.
WARNING: After removing the automatic transmission, to prevent loss of working fluid, immediately secure the torque converter from falling out, for example, by tying it with wire.
42. Install the gearbox and all removed parts and assemblies in the reverse order of removal.
43. Fill the gearbox with working fluid to the required level (see "Checking the level, topping up and replacing the working fluid in the automatic transmission").
(The original source of the article is the website: ChevyMan.ru)